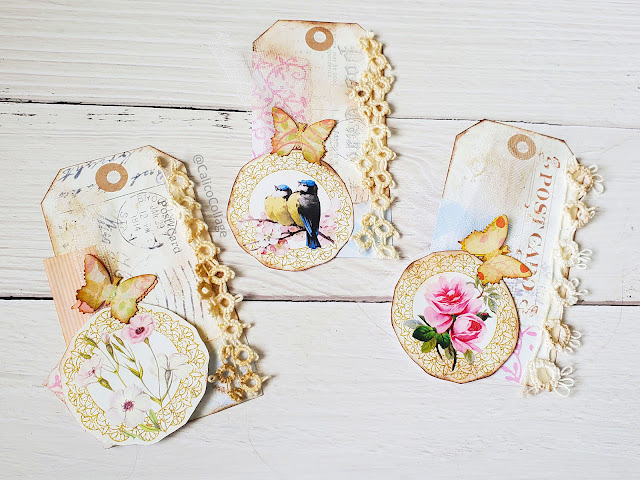
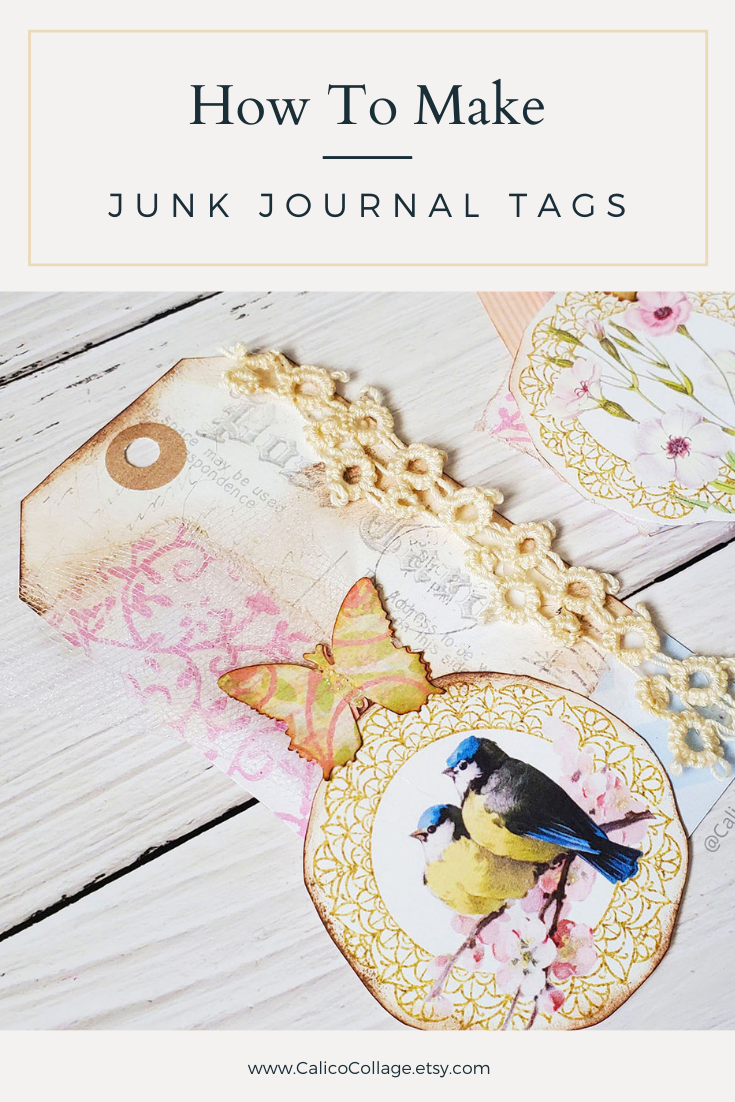
Hello everyone! Today I would like to share a little project I did using my new set of printables, Simple Tags. I wanted offer a set of versatile tags in my shop and these are just that. I turned them into Shabby Chic tags, but these could easily become Steampunk, Grunge, Retro..the possibilities are endless.
This set of tags comes with 3 printable papers with a total of 18 tags. Each tag is approx 2.7 x 5 inches.
What you need to make these junk journal tags
- Simple Tags
- Ephemera from the Blooming Spring junk journal kit
- Spring Hues Pattern Paper
- Small paper butterflies, these were gifted to me in some happy mail
- Thin Lace
- Tulle netting
- Scissors
- Glue
- Ink Pad
- Sponge or Blending Tool
I wanted my tags to be sturdy so I printed out all of my printables on 65lb card stock paper.
The 1st thing I did was cut out 3 of the tags from the Simple Tags printable. I picked the 3 with the vintage post card script down the side. I liked them for this off set layout.
Once I cut them out I inked up the edges with my blending sponge and ink pad. I then tore 2 small pieces off from the Spring Hues pattern paper and glued them down kinda in an L shape in the bottom corner of the tag. I wanted to add just a small pop of color to the tag itself before layering up.
Now with my tag the way I like I started layering. I 1st took a small piece of tulle and positioned it like a fan at the bottom of the tag where I placed the Spring Hues pattern paper. I glued it in down in the corner. I did want some lift to these tags and to achieve this I used my hot glue gun. Then I added another little bit of glue and placed one of the circle ephemera pieces from the Blooming Spring kit down over the tulle.
With the tulle and ephemera glued down, I inked up the edged and the tulle. I didn't like how clean the tulle looked for these tags. Thinking back on this I could have used another color tulle or a different color of ink to add more color.
I placed the cute little butterfly on the round ephemera and glued it in place.
Lastly I glued down a strip of lace on the other side of the tag by the Post Card script.
Here is a quick video of my progress
Thank
you for stopping by and I hope that you are following Calico Collage on social media.
You can find Calico Collage on Instagram
and Pinterest: @calicocollage
If you are a fan of Calico Collage, come join the Facebook group - Fans of Calico Collage
Join now so you do not miss out on flash sales, special coupons & freebies!


Post a Comment